Disclosure: Our goal is to feature products and services that we think you’ll find interesting and useful. If you purchase them, Entrepreneur may get a small share of the revenue from the sale from our commerce partners.
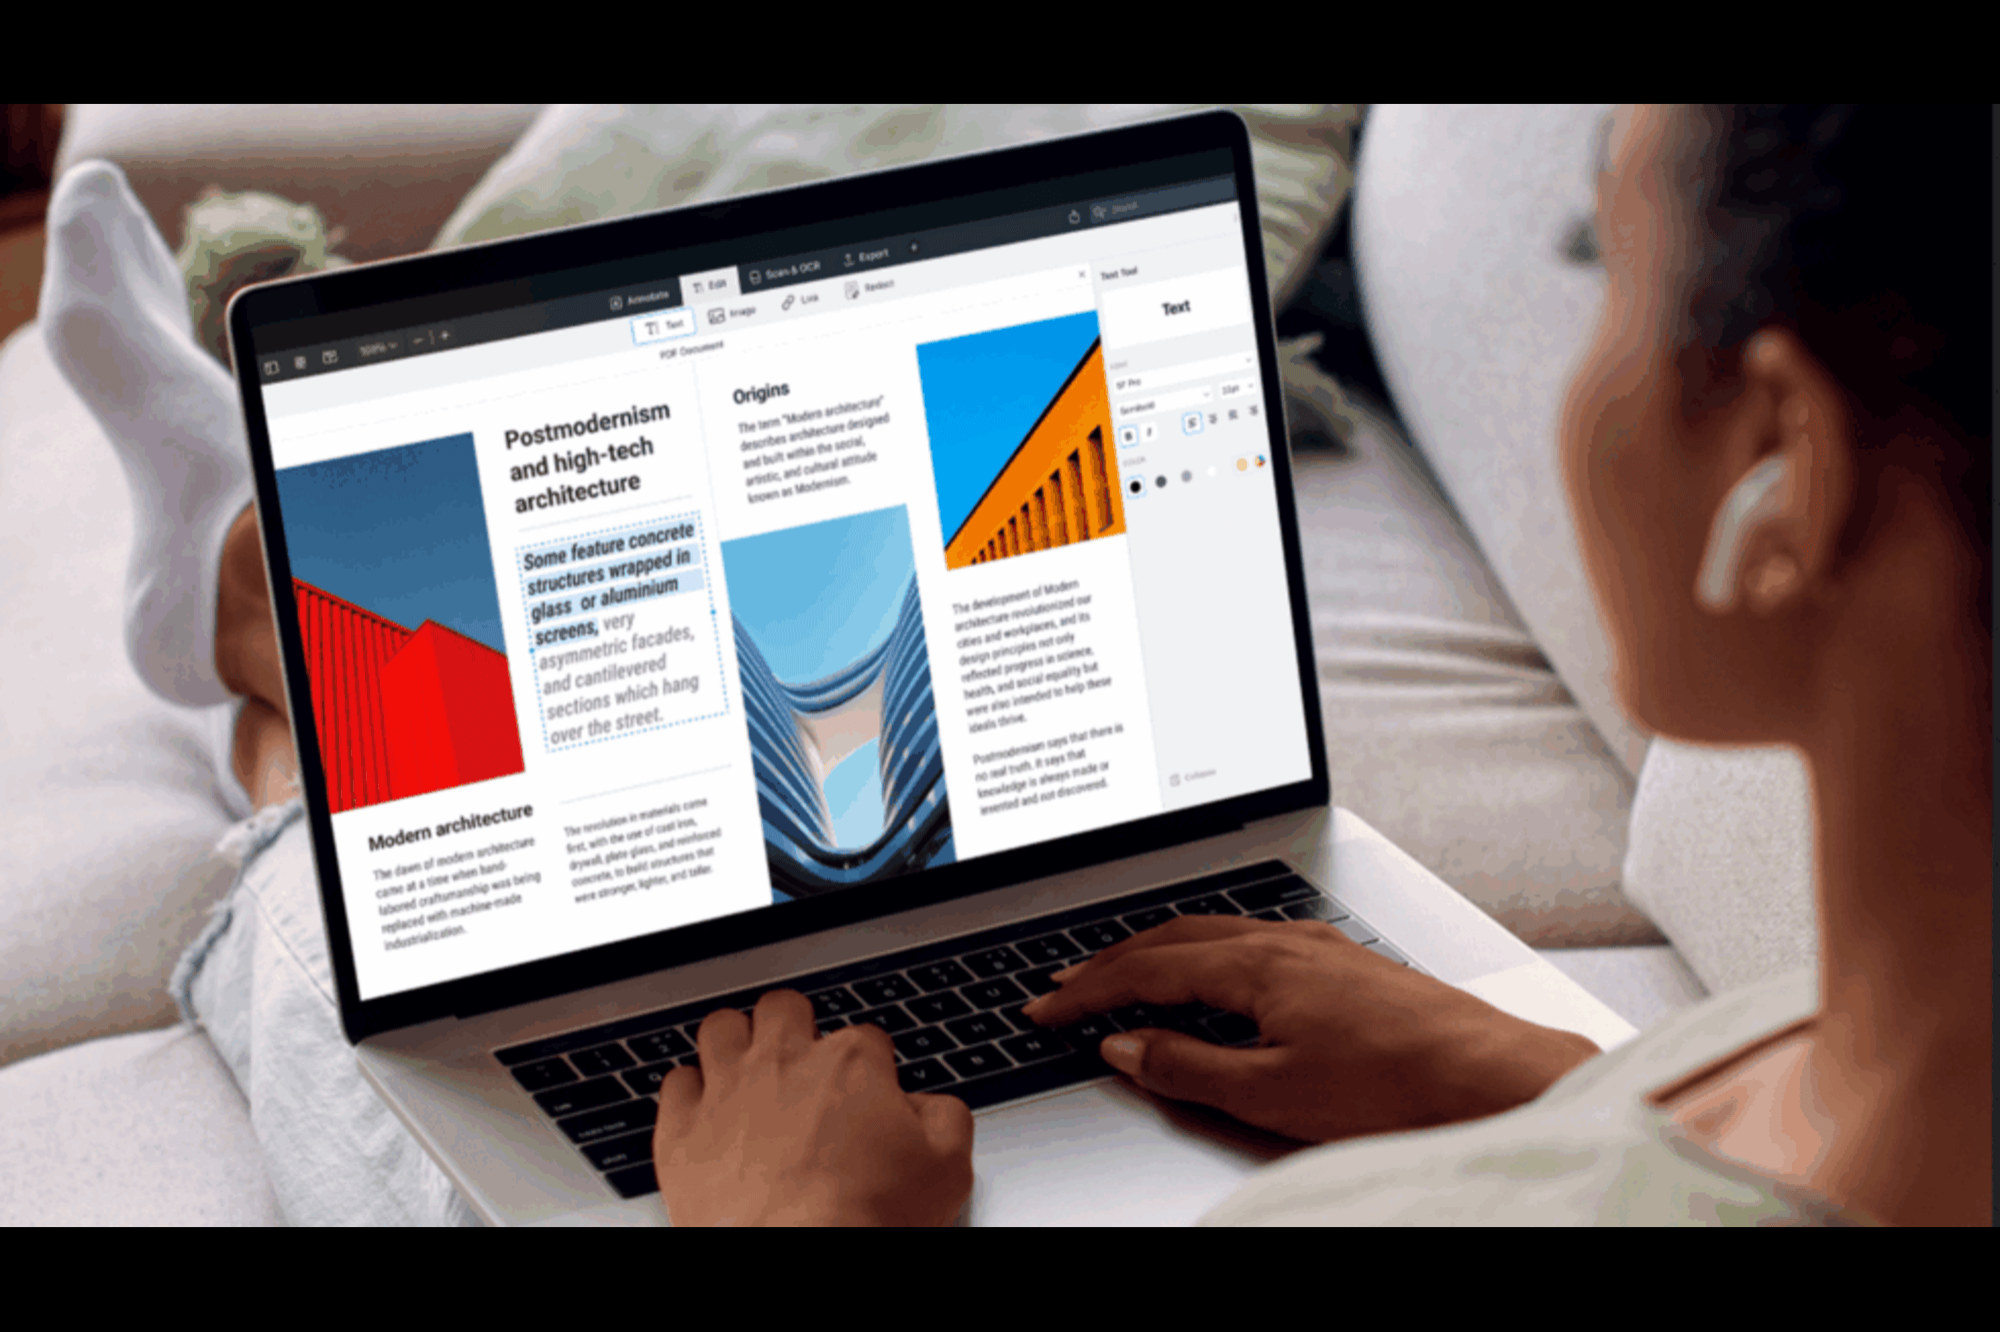
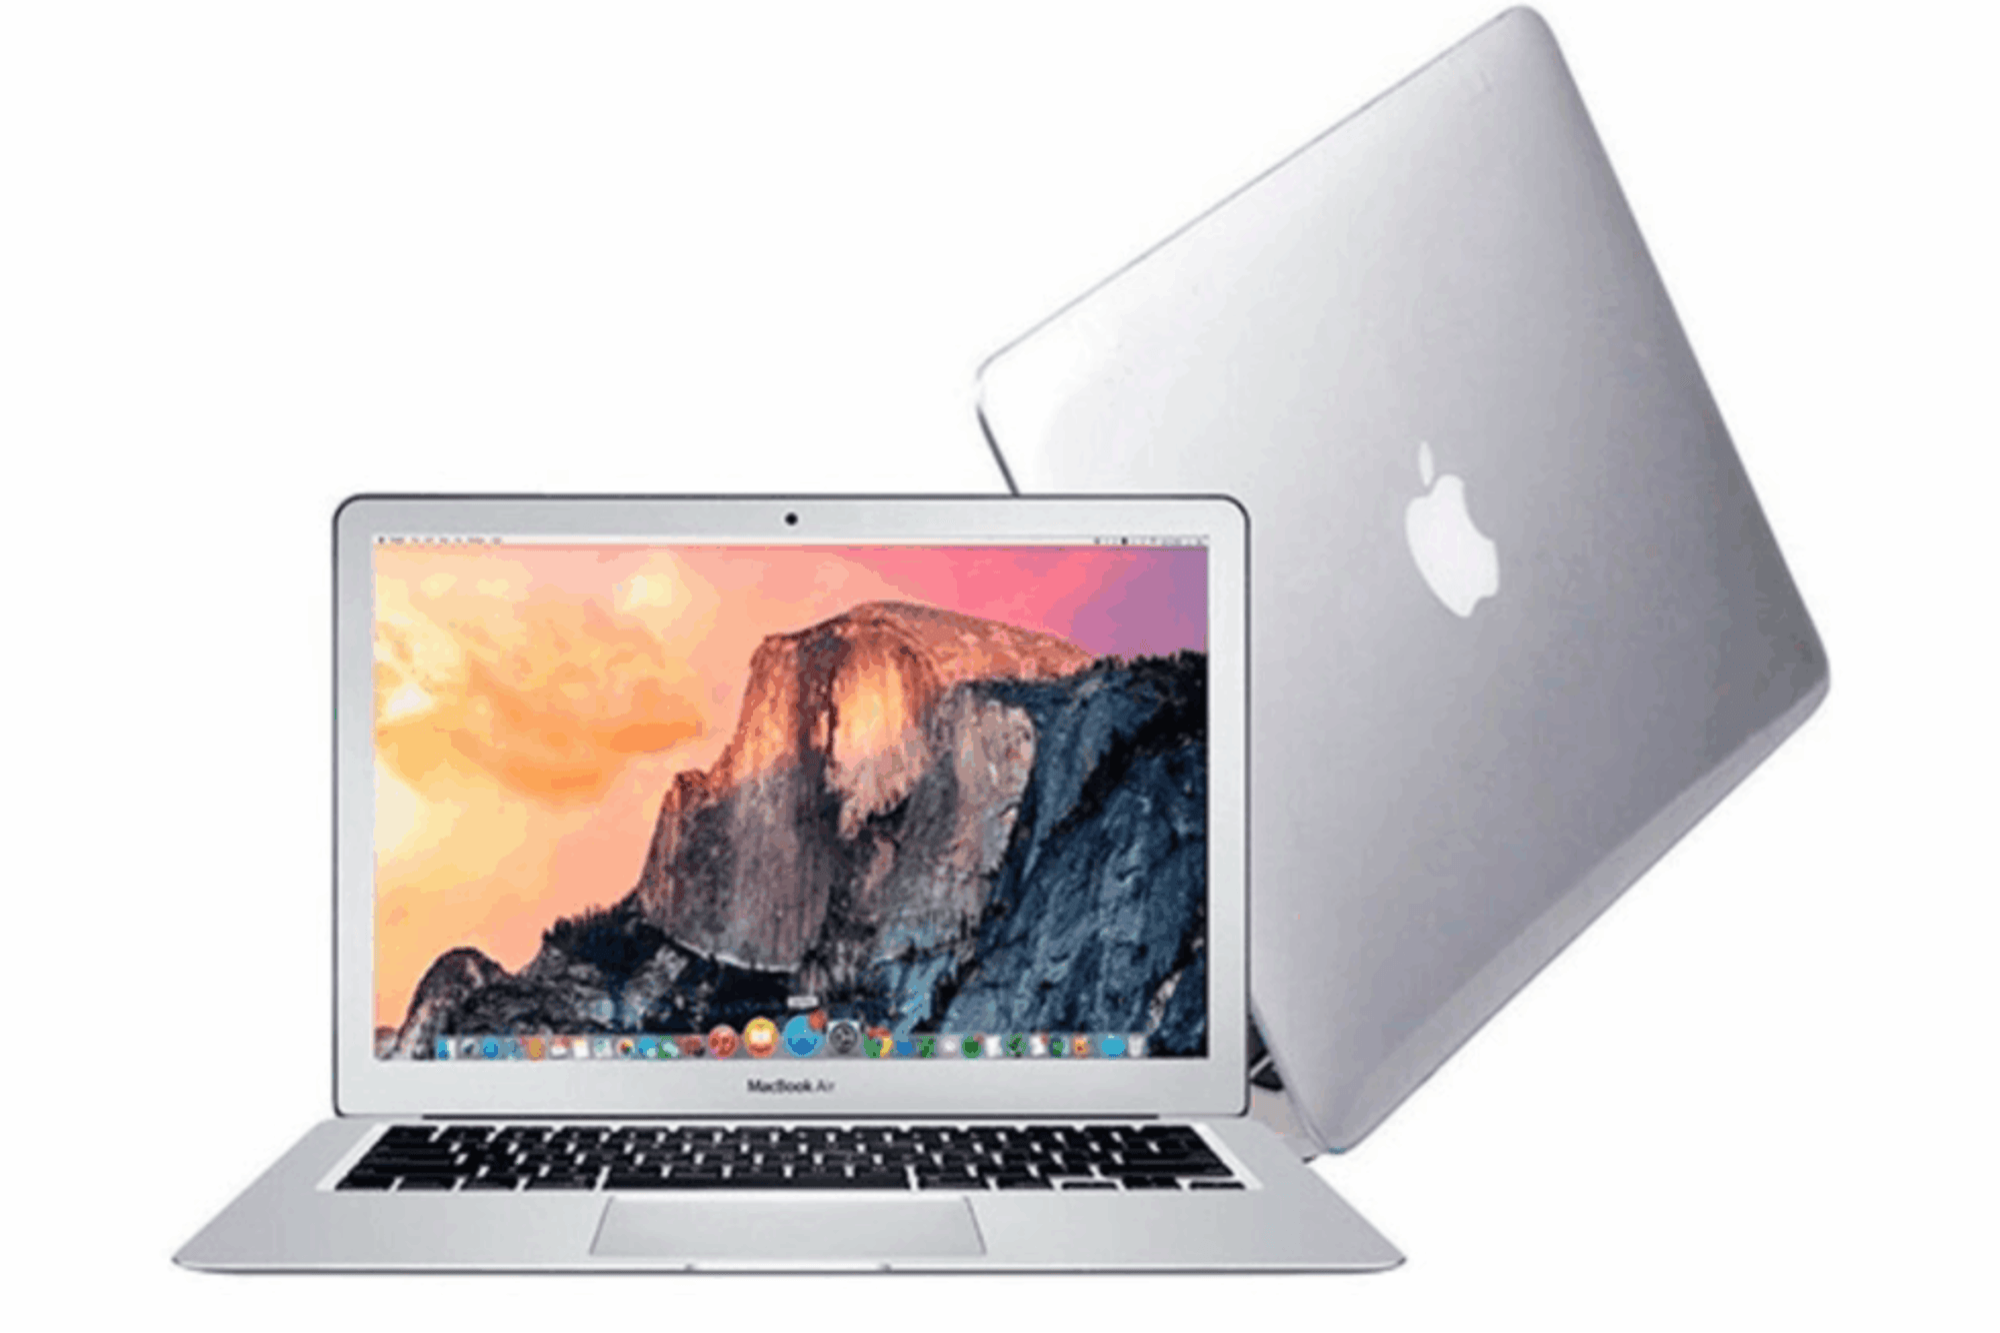
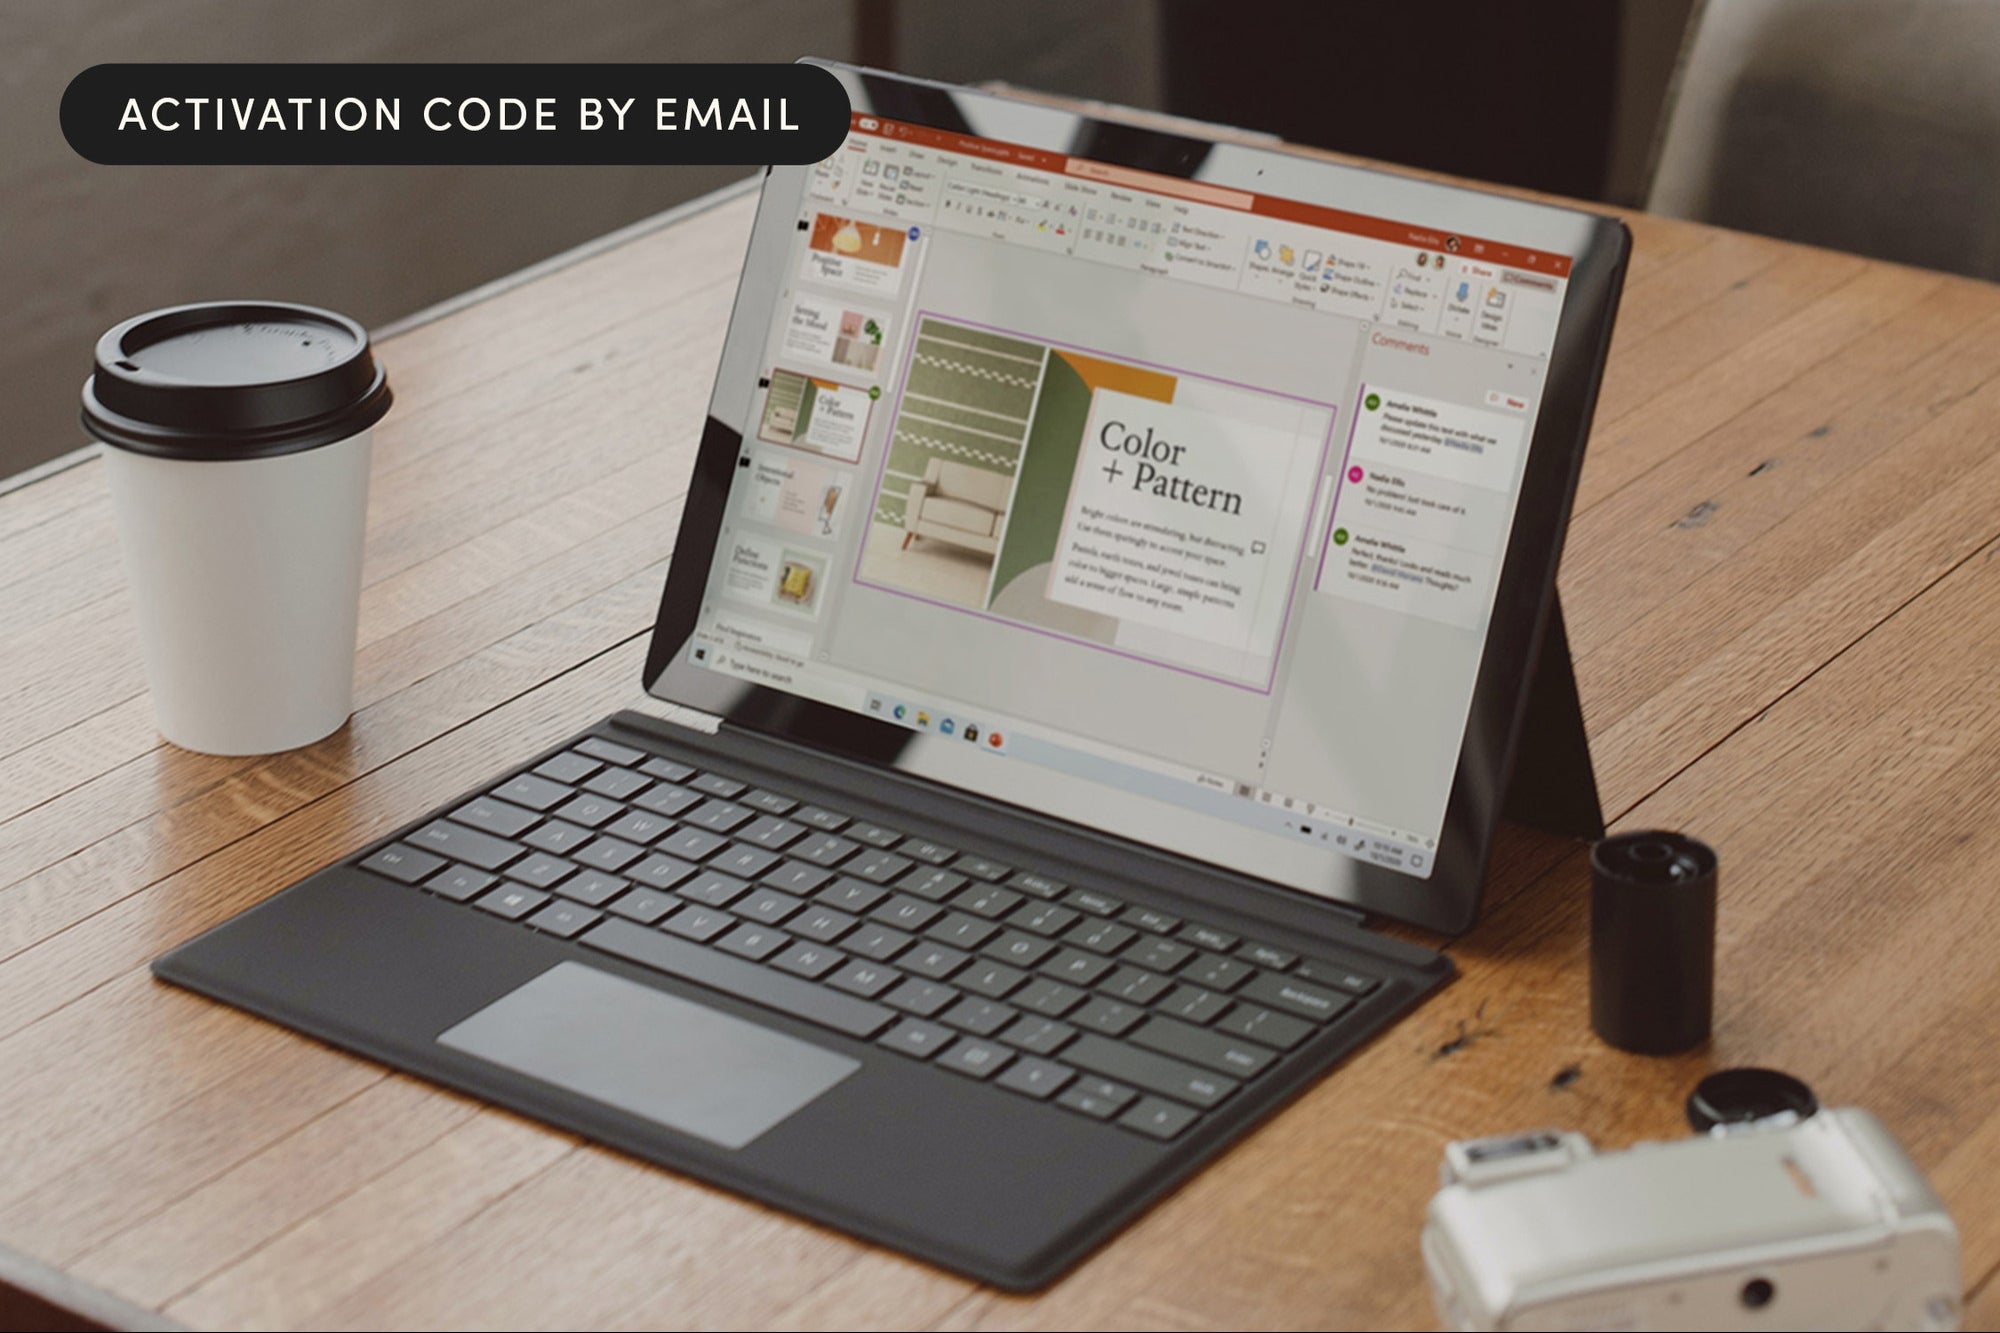
Gusto, the payroll and benefits company, found that SMBs that are fully remote tend to have higher scores across almost all performance indicators. Of course, it would probably help if everyone used the same software. Right now, the best office suite option for small businesses has to be this one-year subscription to Microsoft Office 365 for family or up to six users that’s on sale for just $99.99. That’s 23% off the normal $129 subscription price.
The best thing about a Microsoft 365 subscription is that you know the programs are always up to date with the newest innovative features because you get them as soon as they are released. Communication is a breeze; up to 300 people can join group video calls on Microsoft Teams and talk for up to 30 hours. Also, each user gets 1TB of secure cloud storage and can use up to five devices of their own simultaneously, including computers, phones, and tablets.
Applications include Excel, Word, Outlook, PowerPoint, OneNote, OneDrive, Clipchamp, MS Edito,r and Microsoft Defender. They can help you with spelling and grammar, offer royalty-free creative content, and so much more.
The real gamechanger, though, is Microsoft’s AI-powered productivity assistant Copilot. Its AI features are integrated seamlessly into the Office programs to save you time and effort by helping you work smarter and more efficiently. Microsoft Copilot can even automate tasks!
Security is another huge perk of Microsoft 365. Advanced features protect all of your files, and all of the Outlook features that help you stay organized are backed by the most robust security tools.
Plus, you can’t beat the flexibility of this suite of programs. You can use it on almost any type of PC, Mac, Android phones and tablets, iPads, and iPhones. Not only can you collaborate in real-time, but you can also work offline. It’s no wonder Microsoft 365 has a 4.7 out of 5 stars rating on both GetApp and Capterra.
Get a one-year subscription to Microsoft 365 for a family, or up to six users, while it’s available for only $99.99, a 23% discount.
StackSocial prices subject to change.
Gusto, the payroll and benefits company, found that SMBs that are fully remote tend to have higher scores across almost all performance indicators. Of course, it would probably help if everyone used the same software. Right now, the best office suite option for small businesses has to be this one-year subscription to Microsoft Office 365 for family or up to six users that’s on sale for just $99.99. That’s 23% off the normal $129 subscription price.
The best thing about a Microsoft 365 subscription is that you know the programs are always up to date with the newest innovative features because you get them as soon as they are released. Communication is a breeze; up to 300 people can join group video calls on Microsoft Teams and talk for up to 30 hours. Also, each user gets 1TB of secure cloud storage and can use up to five devices of their own simultaneously, including computers, phones, and tablets.
Applications include Excel, Word, Outlook, PowerPoint, OneNote, OneDrive, Clipchamp, MS Edito,r and Microsoft Defender. They can help you with spelling and grammar, offer royalty-free creative content, and so much more.
The rest of this article is locked.
Join Entrepreneur+ today for access.