Opinions expressed by Entrepreneur contributors are their own.
Every basketball player dreams of making it to the NBA — but for most, that dream goes unrealized.
“When you stop playing, a part of your identity as a basketball player fades,” says Scotty Weaver, a former college hooper turned basketball content creator. “It’s always that feeling of never making it.”
While playing overseas or in semi-pro leagues is still an option, it rarely comes with the recognition that the NBA offers. With The Next Chapter, Weaver is aiming to change that.
Co-founded with fellow basketball creator D’Vonte Friga, The Next Chapter (TNC) is a premier 1v1 basketball league spotlighting some of the most dynamic streetballers in the game. Players go head-to-head for cash prizes in a format reminiscent of cage fighting.
Related: 7 Lessons from Basketball to Help You Succeed in Business
The prologue
Weaver was in the streetball content world long before TNC, starting out working with BallisLife doing content with their East Coast squad, where he met standout player Isaiah Hodge, aka Slim Reaper. They left Ballislife and started making their own street ball content with a group called The Wild Hunt. Weaver would bring his Wild Hunt team to local parks and film five-on-five basketball videos.
“We had a bunch of guys who were characters,” Weaver says. “Slam dunkers, guys doing creative dribbling, big talkers. Everyone brought their own personality and energy.”
The five-on-five format helped draw big crowds, but it made it tough for Weaver to pay the players involved consistently.
“To help pay the team, we asked after the event if they wanted to run some one-on-ones with people at the park,” he explains. “When that video comes out, we’ll post it as the next chapter — and whatever it generates will be how we pay you. So your ability to earn is directly tied to your performance in the video.”
That model incentivized players to talk trash, play flashy and stand out, turning the games into even better content.
They started featuring one of their players, Lah Moon, in a one-on-one after every park run, challenging the best and bravest from the crowd. After a string of undefeated performances, Moon finally met his match in former college hooper Nasir Core, whose dominant showing made him a standout in the community.
Sensing they were onto something, Weaver brought Core in as another featured one-on-one player, laying the groundwork for what would eventually become The Next Chapter. Season One featured seven players, each compensated based on how well their videos performed. They shot all seven episodes in a single day and posted them over several months.
“Season one did great,” Weaver says. “Players started to see how much money they could make on this.”
What began as a way for players to make some extra money has unexpectedly evolved into a potential career path for streetball creators.
“We just paid attention to what people wanted to watch,” Weaver says. “What we’re building is a basketball league — whether it’s one-on-ones, two-on-twos, three-on-threes, or five-on-fives. Right now, we’re focused on ones because they’re far more marketable. But we never want to close ourselves off to the idea of doing it all.”
Related: ‘This is the Future’: WNBA Legend Lisa Leslie Reflects on the WNBA’s Growth and Championing Small Business
The ‘UFC’ of hoops
TNC’s marketing strategy channels the spirit of Vince McMahon and Dana White, building stars by spotlighting unique personalities and skill sets. YouTube phenom Devonte Friga knows this process well, having grown his personal channel to over a million followers.
“We’re trying to build the UFC of one-on-one basketball,” Friga says.
He points to one of TNC’s standout players, J Lew, whom the marketing team cleverly labeled “the internet’s shiftiest hooper.”
“There are so many players like that — each with small, unique parts of their game that define who they are. Take NAS, for example. Online, he’s dominant. He doesn’t just win — he wins big — and makes sure everyone knows it. Then there’s Moon, whose unorthodox one-on-one style is so distinctive that NBA 2K flew him out to capture his crossover move, even though he’s not an NBA player. It’s those little things — the way a player stands out — that turn them into a star.”
The next chapter for The Next Chapter
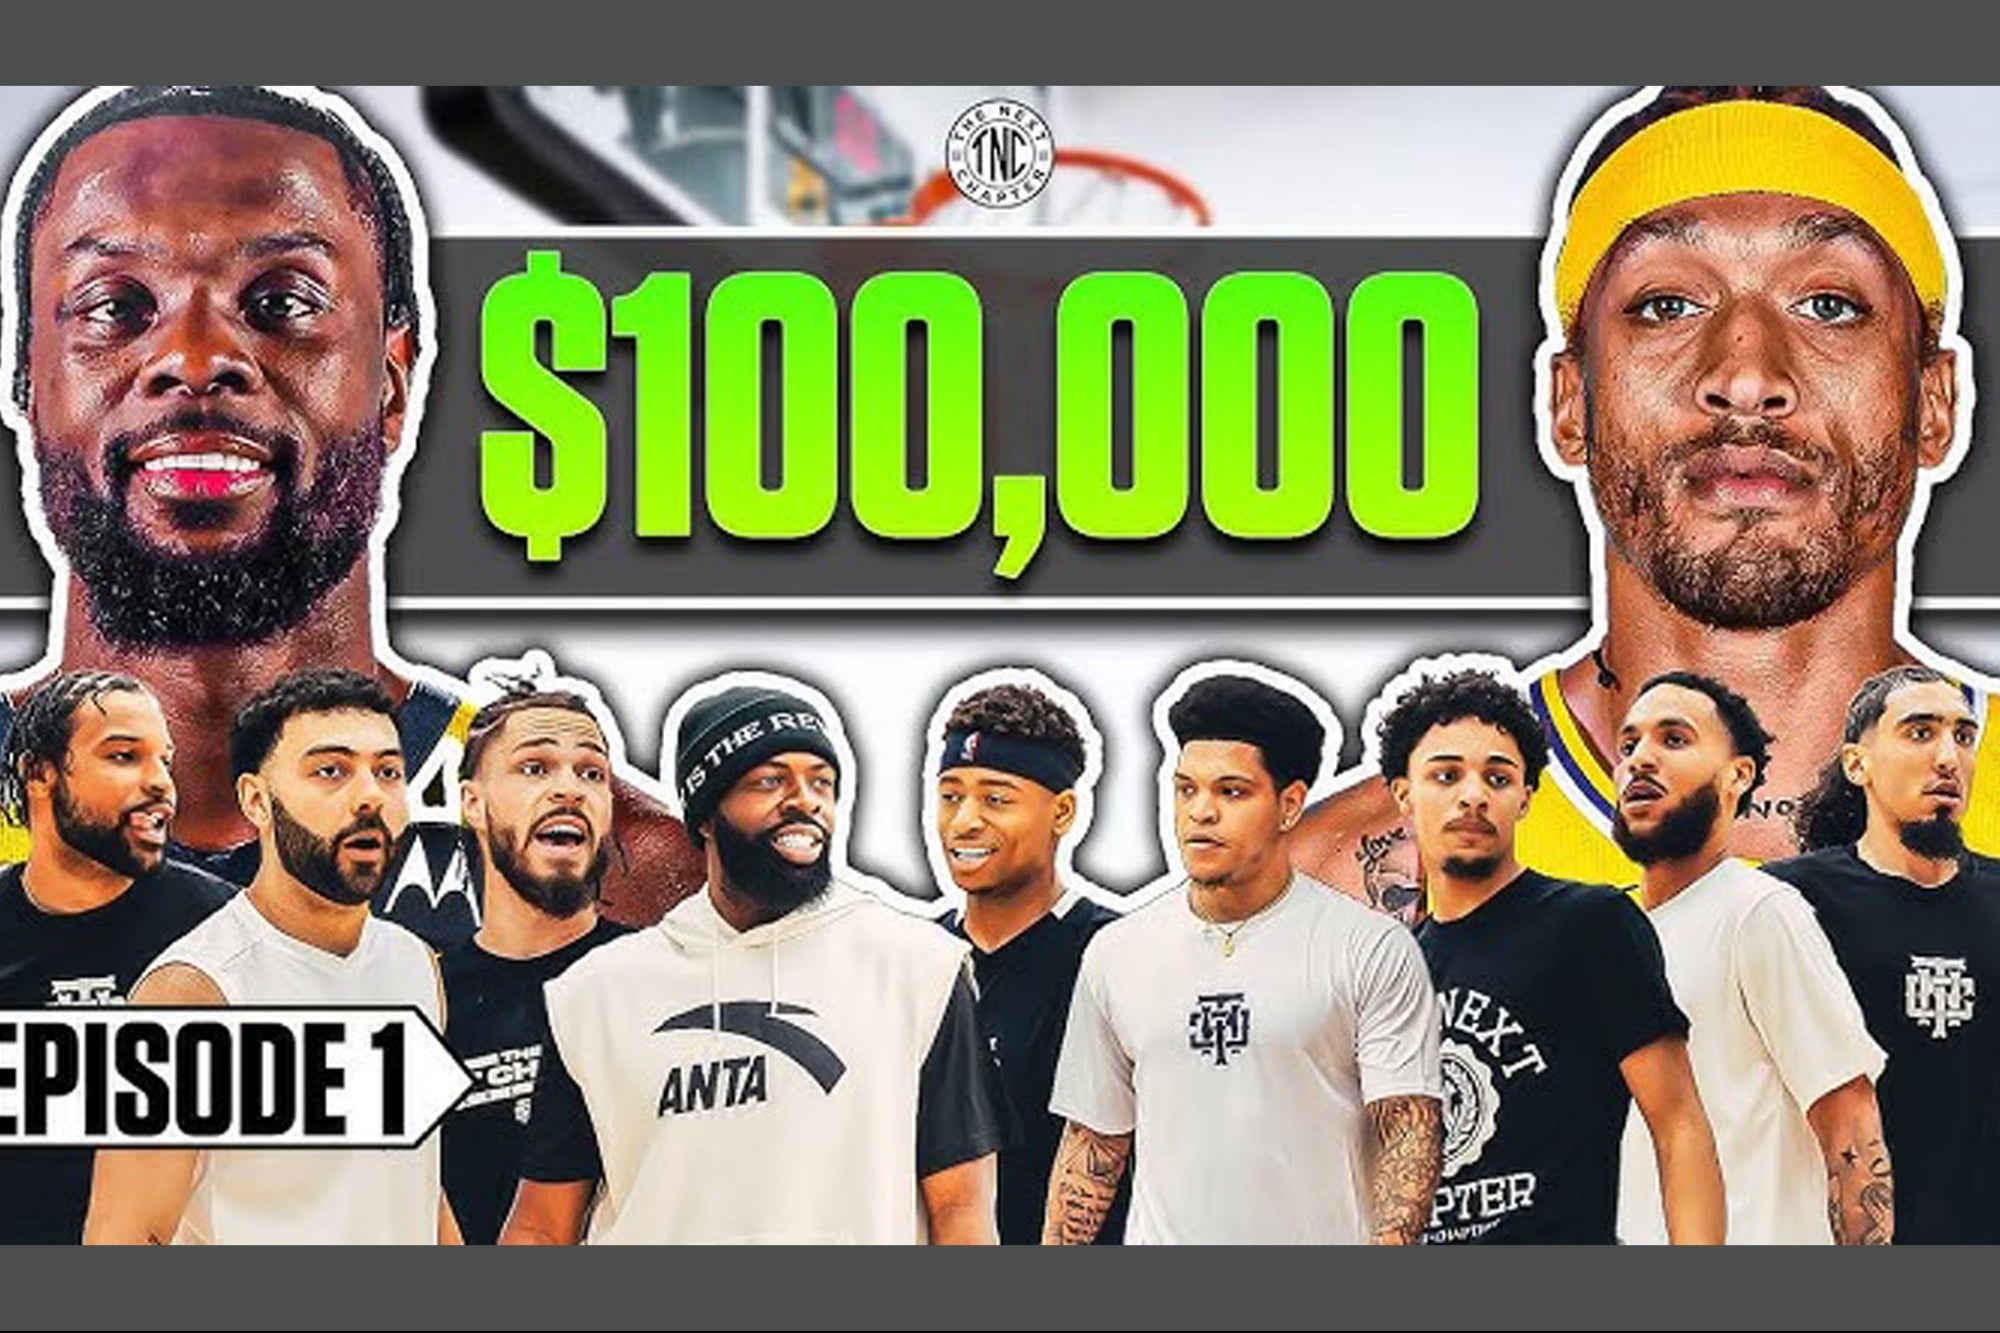
Although most TNC players are streetballers, the league is experimenting with a new format on June 6: a one-on-one showdown between former NBA players Lance Stephenson and Michael Beasley, with $100,000 at stake.
The matchup will serve as the finale of Season 2, which featured 20 episodes of the two pros coaching opposing squads, building anticipation for their long-awaited faceoff. The event will be available via pay-per-view, a bold move for a league whose audience is accustomed to free content.
Still, Weaver is confident fans will see the value.
“I think it’s about proving to your audience that when you ask them to spend their money, there has to be a clear sense of value — like, wow, I actually got something great in return — rather than, this just feels like the same thing I was getting for free, but now I have to pay for it.”
While some details are still being finalized, Weaver estimates that moving forward, about 95% of TNC content will remain free, with roughly 5% behind a paywall.
While others — like former NBA star Tracy McGrady with his OBL league — have explored the 1v1 basketball space, The Next Chapter is carving its path from the ground up.
“Unlike Tracy’s league, we don’t need to be something big right away,” says Friga. “What we’re building is completely different, and I believe it has the potential to become a billion-dollar industry.”


 Barbie dolls. Photo by Tom Starkweather/Bloomberg via Getty Images